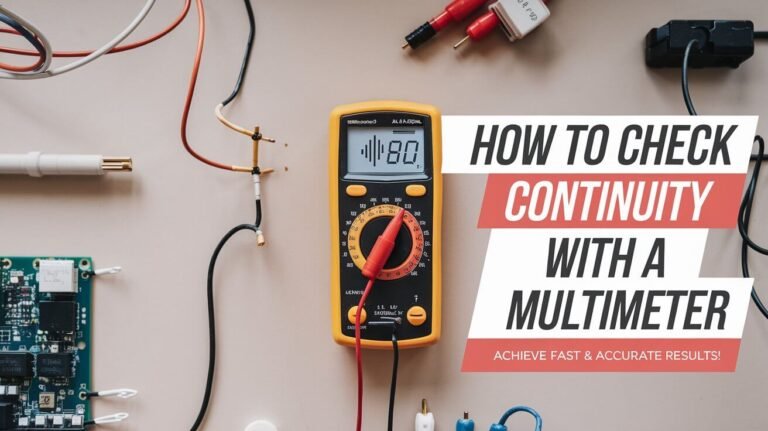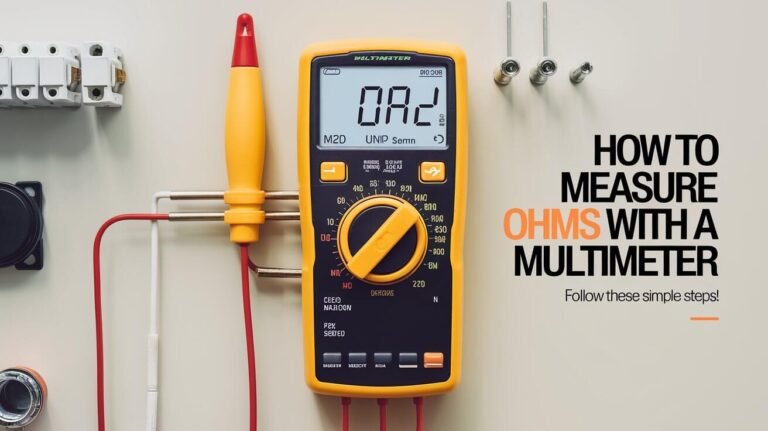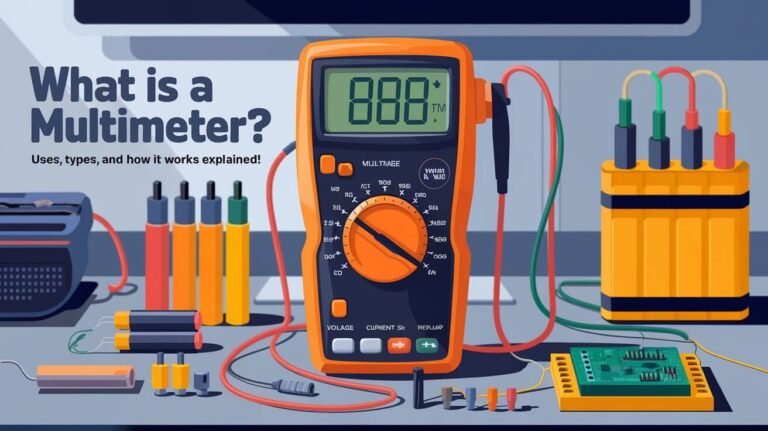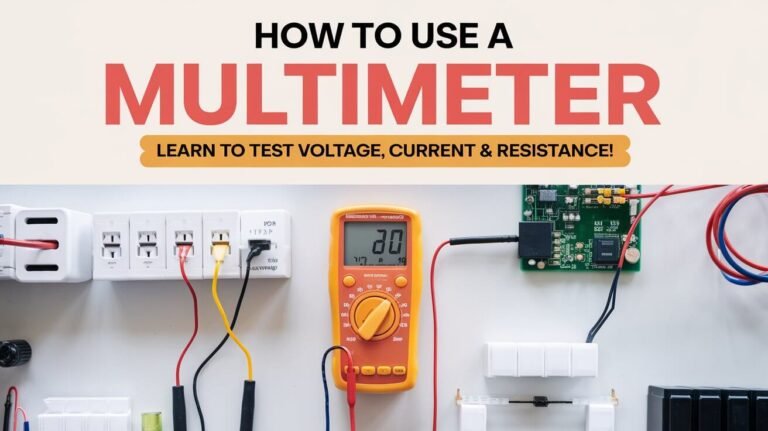
Measuring electrical current, or amperage, is key for anyone in electronics or electrical systems. While voltage and resistance are more common, knowing how to test amperage is vital. It helps diagnose issues like battery drains or circuit loads. We’ll show you how to do it safely and accurately with a multimeter.
Safety Precautions When Measuring Electrical Current
When measuring electrical current, safety should always come first. Electrical hazards can be very dangerous. So, it’s important to protect yourself and your work area.
Protective Equipment Requirements
Always wear rubber gloves to avoid electrocution. Make sure your testing tools are well-insulated. Use appropriate protective equipment like safety glasses or a face shield. This keeps you safe from electrical shocks or arc flashes.
Workspace Safety Guidelines
Keep your workspace clean and organized. This reduces tripping hazards and makes it easier to move around. Don’t work in areas with flammable dust or vapor as it’s risky. Also, never work alone with exposed and energized electrical equipment.
Circuit Power Management
Before measuring current, turn off the power and break the circuit. This prevents accidental shocks or damage to your tools. When working, manage the power carefully. Watch your digital multimeter’s display for any warnings, like unsafe voltages (30V or greater) at the test probes.
The minimum safe current through the human body is 0.01 Amps. Voltages above 36V can be harmful. By following these safety tips, you can ensure a safe and successful electrical troubleshooting process.
Basic Principles of Amperage Measurement
Amperage measures the flow of electrons in a circuit. One amp is the current from one volt through one ohm of resistance. Knowing how amps, volts, and watts relate is key for precise amperage reading and electrical measurements.
To measure current, the circuit must be opened. Then, the meter is placed in series at the opening. This lets the total current flow through the meter. If a novice incorrectly connects the meter, it can cause a short circuit. This could harm the meter and the circuit.
Always turn off power before testing current to avoid shocks or damage. Start with the highest current setting on meters with manual range selection. Have an expected reading in mind based on the manufacturer’s specs and laws.
For high voltages or when breaking the circuit is hard, use a clamp-on ammeter. It measures the magnetic field without touching the circuit. Always wear personal protective equipment (PPE) to stay safe while measuring current.
Digital and analog multimeters are common for current measurements. The meter’s resistance for current should be very low, less than one ohm for 1 amp. The accuracy of current measurements can be checked by measuring voltage across a series resistor using Ohm’s Law. A 10% tolerance in the resistor is usually okay for many uses.
Current sensors, like current clamps or transformers, are used when direct measurement is not possible.
Essential Tools and Equipment Required
Testing amperage needs the right tools for safe and accurate measurements. Digital multimeters with ammeter functions are key for most. They measure current, voltage, resistance, and more.
Types of Multimeters
Digital multimeters (DMMs) vary for different needs. For precise current tests, high-quality models from Tektronix and Keithley are recommended. These DMMs handle a wide range of measurements, from microamps to amps.
Additional Testing Equipment
- Clamp meters: These tools measure current without breaking the circuit. They use iron clamps to focus magnetic fields.
- Hall effect sensors: These sensors detect magnetic fields from current flow. They offer a way to measure amperage without touching the circuit.
- Insulated probes and alligator clips: These ensure safe connections to the circuit. They protect both the user and the equipment.
- Protective gear: Safety is crucial when working with electrical systems. Insulated gloves and safety glasses are must-haves.
With the right tools and safety in mind, we can confidently measure multimeter usage and ammeter function. This is true for many applications, from testing home appliances to diagnosing battery systems.
How To Test Amperage Using Multimeter
Testing the electrical current, or amperage, in a circuit is key for safety and efficiency. To do this with a multimeter, just follow these steps:
- First, set up your multimeter. Put the black probe in the “COM” socket and the red probe in the “A” socket.
- Next, choose the right current setting. It’s either AC (alternating current) or DC (direct current), based on your circuit type.
- Then, pick the correct range for the expected current. For currents under 200 milliamps (mA), use “200mA”. For higher currents, choose “10A”.
- Make sure to turn off the circuit’s power. Then, break the circuit by disconnecting a wire or component.
- Now, connect the probes to the circuit. The black probe goes on the negative terminal, and the red probe on the wire.
- After that, turn the power back on. Keep the probes in place for about a minute to stabilize the reading.
- Lastly, check the multimeter’s display to see the current flowing through the circuit.
Always prioritize safety when working with electrical systems. Wear the right personal protective equipment (PPE) and follow all safety rules. By following these steps, you can accurately measure the amperage in your circuits with a multimeter.
Configuring Your Multimeter for Current Testing
To measure electrical current right, you need to set up your multimeter correctly. First, pick the right mode for your test: AC or DC. Your multimeter has special ports for current, different from those for voltage and resistance.
Probe Placement Guidelines
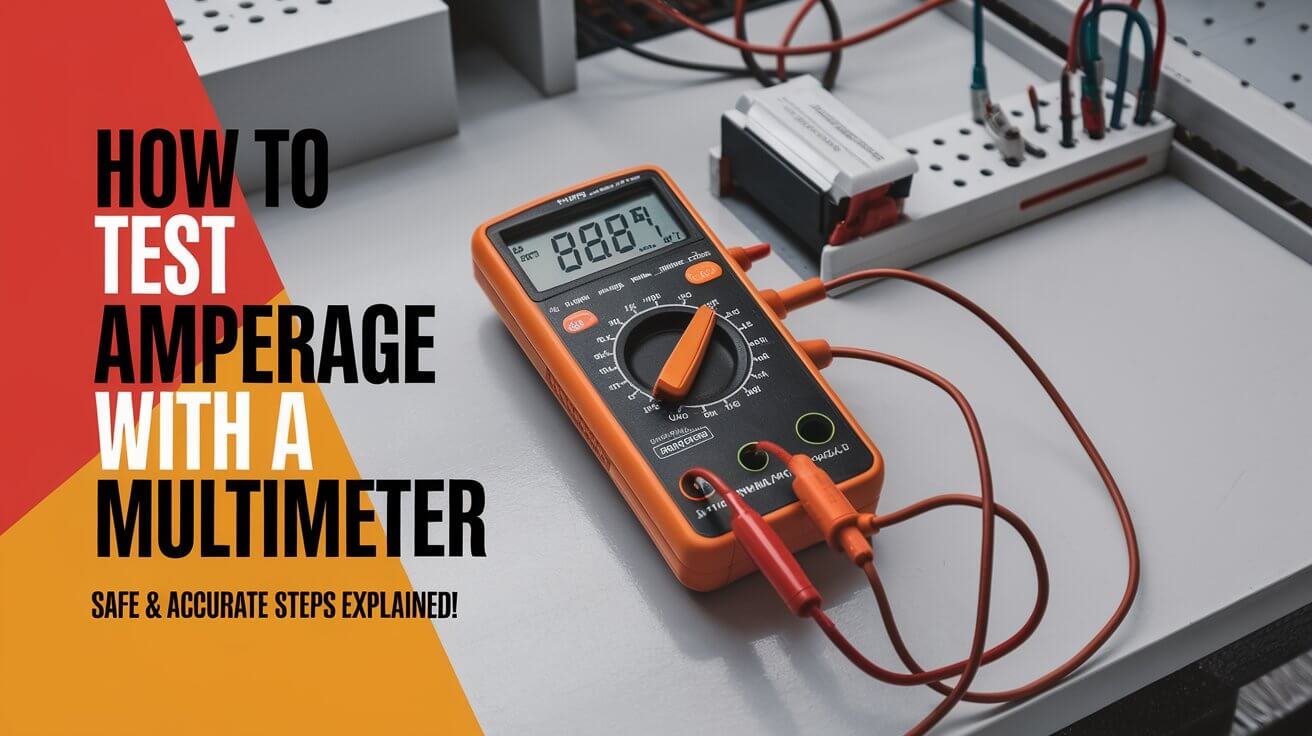
To measure current, you must break the circuit and put the multimeter in series. Connect the black probe to the “COM” port and the red probe to the “A” or “mA” port. This depends on the current you expect.
Put the black probe on the circuit’s negative side and the red probe on the positive side. This way, the current goes through the multimeter.
Range Selection Tips
Start with the highest range on your multimeter for current tests. Then, lower it until you get the most accurate reading. This avoids damaging the multimeter or risking safety.
Many modern multimeters can adjust the range automatically for the best results. This makes your tests more reliable.
Setting up your multimeter right and placing probes correctly is key for safe and accurate current measurements. By doing this, you can get precise readings and fix electrical issues effectively.
AC vs DC Current Testing Methods
Understanding the difference between alternating current (AC) and direct current (DC) is key for precise current testing. Both currents are important in electrical systems. Yet, the way we measure them with a multimeter is a bit different.
To test DC current, just set your digital multimeter (DMM) to DC amperage mode. Choose the right range. This lets us see how electrons move in a circuit, helping us understand its work.
For AC current testing, switch to AC amperage mode on your multimeter. It’s important to place probes correctly and pick the right range. AC current is trickier because it has non-sinusoidal waveforms. A True RMS multimeter is often needed to get the current’s true value.
| Current Type | Multimeter Mode | Probe Placement | Recommended Multimeter |
|---|---|---|---|
| Direct Current (DC) | DC Amperage | Break the circuit and insert the multimeter | Digital Multimeter (DMM) |
| Alternating Current (AC) | AC Amperage | Break the circuit and insert the multimeter | True RMS Multimeter |
Knowing how to test AC and DC current helps us make accurate electrical measurements. This knowledge is crucial for fixing and checking electrical systems.
Common Applications for Amperage Testing
Amperage testing is key in many areas, like fixing home appliances and checking battery systems. It helps us make sure our electrical systems work well and are safe.
Home Appliance Testing
Measuring current helps us find problems with home appliances. We compare the actual current to what the maker says. This tells us if something’s wrong or if it’s working too hard.
Battery System Diagnostics
For batteries in cars or backup systems, checking amperage is very important. It shows how the battery is doing and if it’s working right. This helps us find and fix issues like bad cells or not enough charge.
Circuit Load Analysis
Checking the current in circuits is key for safety and reliability. It helps us spot overloaded circuits and avoid fires. It also helps us pick the right wire sizes and breaker ratings.
Amperage testing is a must-have tool for keeping our electrical systems safe and efficient. It lets us make smart choices, improve performance, and keep our equipment and installations reliable for a long time.
Interpreting Multimeter Readings
Understanding multimeter readings is key in electrical measurements. Knowing the units and scale helps us grasp the amperage data. This is crucial for spotting issues in circuits or devices.
If the multimeter shows “1.”, it means the value is too high for the range. We need to adjust the amperage range for an accurate reading. A negative sign “-” means the current is flowing the wrong way. This could point to wiring problems or faulty components.
To find out a device’s power use, we use the formula: P(W) = I(A) × V(V). This tells us the power usage in watts from amperage and voltage. For AC circuits, the formula changes slightly: I(A) = P(W) / (PF × V(V)).
Comparing readings to expected values, we can spot problems. This includes too much current draw or system imbalances. This knowledge is key for fixing electrical issues and keeping equipment safe and efficient.
Electrical work needs caution and safety. Always put your safety first and follow safety guidelines when working with live circuits.
Troubleshooting Inaccurate Measurements
Even with the right setup and precautions, we might still get wrong amperage readings from our multimeter. But, there are steps we can take to fix these problems.
Calibration Techniques
Keeping our multimeter calibrated is crucial for accurate readings. We can use known standards like precision resistors or calibrated current sources to check our meter. By adjusting as needed, we can ensure our multimeter works well and avoid wrong results.
Error Prevention Strategies
To avoid measurement mistakes, there are a few things we can do. We should double-check our probe connections and make sure we’re using the right measurement range. We also need to watch out for electromagnetic interference. Plus, learning the best ways to test AC and DC current can make our readings more accurate.
Most Popular Questions
What is the process for testing amperage with a multimeter?
To test amperage with a multimeter, first set it up. Choose the right range and safely connect the probes. Always wear rubber gloves and avoid touching metal.
Turn off the power, break the circuit, and connect the probes. Then, read the display to get your results.
What safety precautions should be taken when measuring electrical current?
When measuring electrical current, safety is key. Wear rubber gloves and stay away from metal. Use the right protective gear and turn off the power first.
Make sure the circuit is broken before testing. The human body can handle up to 0.01 Amps safely. But, voltages over 36V can be dangerous.
What is the basic principle of amperage measurement?
Amperage measures the flow of electrons in a circuit. It’s the current that flows through one volt and one ohm of resistance. Knowing amps, volts, and watts is important for accurate measurements.
What equipment is needed for amperage testing?
You’ll need a digital multimeter, clamp meters, and Hall effect sensors for amperage testing. There are different multimeters for different needs. You might also need insulated probes, alligator clips, and safety gear.
Clamp meters use iron clamps for non-invasive current measurement.
How do I test amperage using a multimeter?
To test amperage, start by setting up your multimeter. Put the black probe in the “COM” socket and the red probe in the “A” socket. Choose AC or DC amperage and the right range.
Turn off the power, break the circuit, and connect the probes. Make sure they’re on the negative terminal and wire. Then, turn on the circuit and wait a minute before reading the display.
For currents under 200mA, use the “200mA” jack. For higher currents, use the “10A” jack.
How do I configure the multimeter for current testing?
To configure the multimeter, pick the right current measurement mode (AC or DC) and range. Put the black probe in the “COM” socket and the red probe in the “A” or “mA” socket.
Start with the highest range and decrease if needed. Make sure the probes are in the right place in the circuit. The red probe goes on the positive side, and the black probe on the negative side.
What are the differences between AC and DC current testing?
AC and DC current testing have different methods. For DC, set the multimeter to DC amperage mode and the right range. For AC, switch to AC amperage mode.
Make sure to use the right probe placement and range for each type of current. For AC, use True RMS multimeters for accurate readings of non-sinusoidal waveforms.
What are some common applications for amperage testing?
Amperage testing is used in many areas. It helps diagnose home appliances, analyze battery systems, and evaluate circuit loads. For home appliances, it can find malfunctions.
In battery systems, it checks discharge rates and health. Circuit load analysis finds overloaded circuits and optimizes power distribution. It’s key for sizing wires and determining system loads.
How do I interpret multimeter readings for amperage?
To understand multimeter readings, know the units and scale. If the display shows “1.”, increase the range. A “-” sign means reverse current flow.
Calculate power consumption with the formula: P(W) = I(A) × V(V). For AC circuits with power factor, use: I(A) = P(W) / (PF × V(V)). Compare readings to expected values to find issues.
How can I address inaccurate amperage measurements?
To fix inaccurate measurements, calibrate your multimeter regularly. Use known reference standards. Choose the right range and place probes correctly.
Check for loose connections or damaged probes. Be aware of external factors like electromagnetic interference. Use the correct method for AC or DC current to avoid errors.

