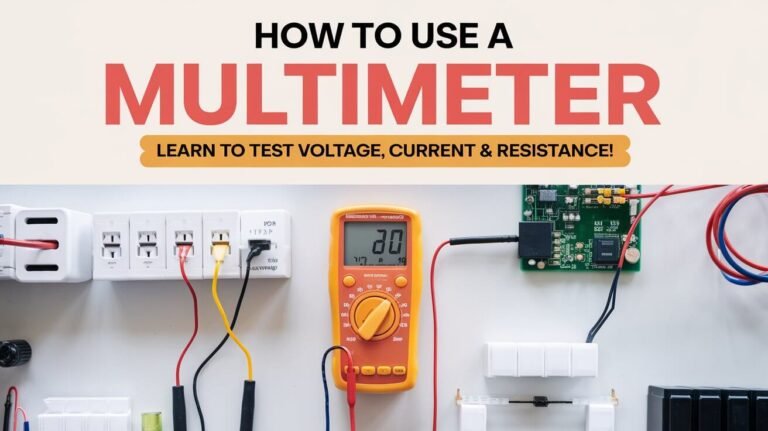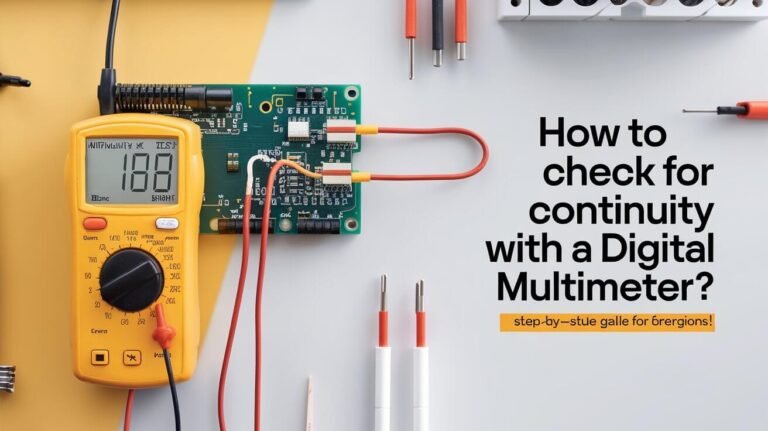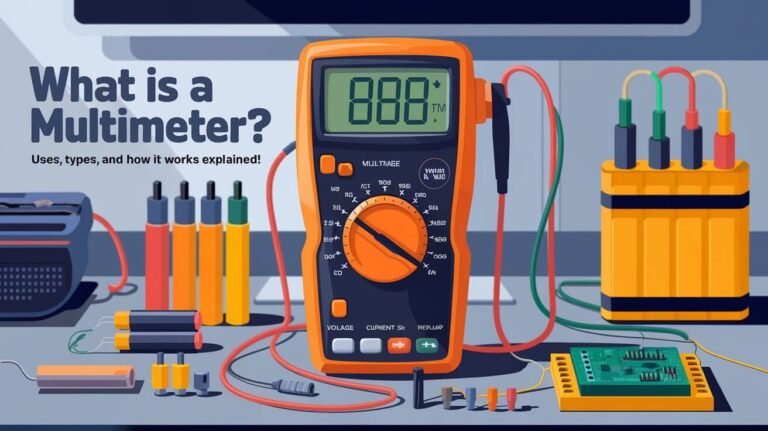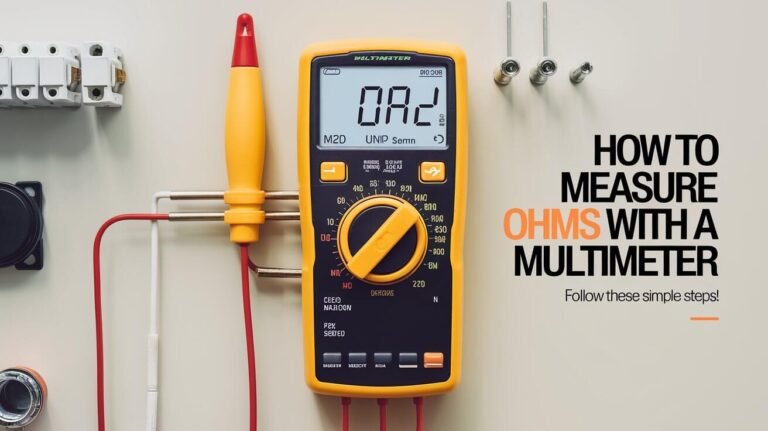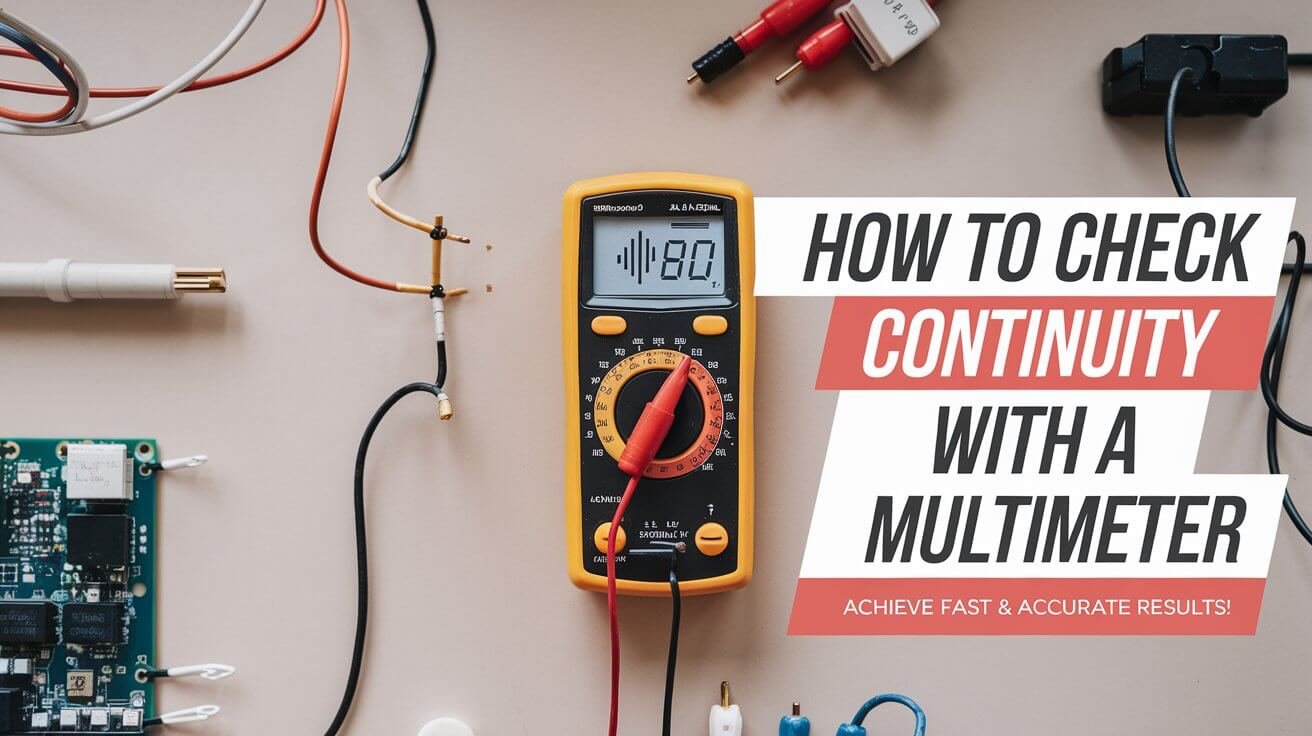
A multimeter is a handy tool for checking electrical circuit continuity. It helps us see if materials conduct electricity and find connections in our projects. This is key for spotting bad connections and ensuring our circuits work right and safely.
When we use it for continuity, the multimeter shows a diode symbol or a soundwave icon. This means it’s ready to test our circuits.
To test continuity, we first turn off power sources. Then, we set up the multimeter and look at the readings. This way, we can quickly check our electrical connections.
Whether we’re making paper circuits, fixing home appliances, or working on any electrical project, knowing how to use a multimeter is crucial. It saves us time, money, and keeps us safe from electrical dangers.
What Is A Multimeter And Why Test Continuity
A multimeter is a tool that can measure many things. It can check voltage, current, and resistance in electrical systems. It’s a portable version of a device invented in 1920 by Donald Macadie, a British engineer.
Types Of Multimeters Available
There are many types of multimeters out there. You can find simple analog ones or more advanced digital ones. Some even test diodes and capacitors and adjust sensitivity automatically.
Basic Functions And Components
A multimeter helps us check if electricity can flow freely. This is called continuity testing. If the circuit is good, the multimeter shows zero resistance and might even beep.
Safety Considerations Before Testing
It’s important to be safe when using a multimeter. Always turn off power sources and make sure the device or circuit is isolated. This keeps us safe and the equipment working right.
Required Tools And Materials For Continuity Testing
To test electrical components, we need some key tools and materials. A multimeter is essential for measuring resistance and checking for continuous paths. We also need two test probes and a screwdriver for disconnecting terminals.
The multimeter should have a continuity setting or a resistance measuring feature (Ω symbol). This lets us see if there’s a complete circuit or a break. It’s important to have a working battery in the multimeter for accurate readings.
Depending on what we’re testing, we might need to access the device itself. This includes wires, fuses, switches, or other parts. Having these ready helps us check the system’s continuity thoroughly.
- Multimeter with continuity mode
- Two test probes
- Screwdriver (for disconnecting device terminals)
- Device/component being tested (wires, fuses, switches, etc.)
- Functional multimeter battery
With these tools and materials, we’re ready to test electrical components. Let’s learn how to use a multimeter to check continuity.
Setting Up Your Multimeter For Testing
To accurately check continuity using a multimeter, it’s crucial to set up your device correctly. Let’s walk through the steps to ensure your multimeter is ready for the task at hand.
Connecting The Test Leads
Start by connecting the test leads to your multimeter. Plug the black lead into the COM (common) port and the red lead into the V/Ω port. This setup is key for effective testing.
Selecting The Correct Mode
Next, set your multimeter to the continuity testing mode. Look for a diode symbol or soundwave icon. If you can’t find a specific continuity setting, use the resistance (Ω) mode. This mode helps detect low resistance in circuits.
Calibrating Your Device
Before testing, calibrate your multimeter. Touch the two probe tips together. You should hear a beep and see a zero-ohm reading. This confirms your multimeter is working right for accurate tests. For manual multimeters, choose the lowest resistance range for testing.
Following these simple steps, you’ll have your multimeter set up and ready to check continuity in various electrical components and circuits. Remember, proper setup and calibration are crucial for reliable results when using a multimeter for continuity testing or the multimeter continuity mode.
How To Check Continuity With A Multimeter
Checking continuity is key in electrical testing. A multimeter is vital for this task. It helps spot breaks in electrical circuits and components. Here’s how to use a multimeter for continuity testing.
- First, make sure the device or circuit is not connected to any power. This step is crucial for safety to avoid electric shocks.
- Next, set your multimeter to the resistance or continuity mode. Look for the Ω symbol on the meter.
- Then, connect the black probe to one end and the red probe to the other of the component or wire you’re testing.
- Wait for the reading to settle. A reading close to 0 ohms or a continuous beep means good continuity. But, a high reading or “Open” shows a circuit break.
- For switches, test them in both on and off positions. This checks if they work right.
Remember, knowing how to check continuity with a multimeter and doing continuity testing with multimeter is key for fixing electrical problems. With practice, you’ll get good at using your multimeter for continuity tests.
Testing Different Electrical Components
We, as skilled technicians, understand the importance of checking electrical components. This is key for any circuit or system to work right. We test fuses, circuit breakers, switches, and wires to find and fix problems.
Fuses and Circuit Breakers
Testing fuses and circuit breakers is easy. Just use the multimeter’s probes on each end. A working fuse or circuit breaker shows zero resistance. But a blown fuse or tripped circuit breaker will show no continuity.
Switches and Controls
Testing switches and controls is also crucial. We use the multimeter to check them in both “on” and “off” states. A good switch shows continuity in “on” and none in “off.”
Wires and Cables
Testing wires and cables is about checking continuity between ends. This ensures the electrical path is complete and safe. We also test between non-corresponding ends to check for unwanted connections.
Learning to test electrical continuity and check circuit continuity, we can solve many electrical problems. This ensures the systems we work on run smoothly and reliably.
Interpreting Multimeter Readings
When you use a multimeter to check continuity, the readings tell you a lot about your electrical circuit. It’s important to know how to read these numbers to make sure your electrical parts work right.
A reading of 0 ohms means the circuit is perfect, and electricity flows freely. Numbers below 1 ohm show good continuity, but might be due to dirty contacts or a bit of resistance.
| Multimeter Reading | Interpretation |
|---|---|
| 0 ohms | Perfect continuity |
| Below 1 ohm | Good continuity, possibly due to dirty terminals |
| 1-10 ohms | Acceptable continuity, depending on the device |
| Above 10 ohms | Poor continuity, potential issues |
| 1 on the left side or megaohms (MΩ) | Very high resistance or open circuit |
| No reading or error message | Broken current or connection |
Numbers between 1-10 ohms might be okay, depending on the device. Always check the device’s manual or talk to the maker for the right range.
If you see a 1 on the left or megaohms (MΩ), it means high resistance or an open circuit. This could be a problem. Also, if your multimeter shows nothing or an error, it means there’s a broken connection that needs fixing.
Common Issues During Continuity Testing
When we use a multimeter for continuity checks, we might face some problems. Let’s look at common issues and how to fix them.
False Readings and Troubleshooting
Dirty or worn test probes can cause false readings. Also, weak batteries can lead to unstable results. To solve these problems, clean the probes with a dry paper towel. If your batteries are weak, replace them.
Another reason for false readings is leftover charge in the device. Make sure all capacitors are fully discharged before testing. This helps avoid interference with the multimeter’s signals.
Equipment Maintenance Tips
- Keep your multimeter in a dry, safe spot to avoid damage.
- Check the batteries often and replace them when needed.
- Calibrate your multimeter regularly to keep it accurate.
- Don’t drop your multimeter or subject it to shocks. It can damage the inside and give wrong readings.
Fixing these common problems and keeping your multimeter in good shape, you’ll get accurate results. This is crucial for checking electrical circuits and parts.
Testing Continuity In Household Appliances
A multimeter is great for checking the electrical continuity of household appliances. First, make sure to unplug the device to stay safe. This is key to avoid getting shocked while working with live wires.
To test lamps, check the continuity between the plug prongs and the light socket. Do this with the switch in both the on and off positions. This helps find wiring or lamp issues. You can also test extension cords by checking between prongs and receptacles.
For appliance cords, use your multimeter to test between the plug prongs and the device’s internal connections. This can show you any wiring breaks or issues that might be causing problems.
Be careful with built-in appliances like ovens or dishwashers. Accessing their internal parts might need special knowledge and tools. If unsure, it’s best to call a professional electrician for safe inspection and testing.
Using a multimeter to test your appliances can quickly spot and fix electrical issues. This ensures your devices work right and stay safe. Always put safety first and get help if you’re not sure about testing.
Advanced Continuity Testing Techniques
Let’s dive into advanced multimeter continuity testing techniques. These methods can enhance our troubleshooting skills. We can test complex circuits with multiple branches by probing different points.
This helps us trace electrical flow and find breaks or faulty connections. The data hold function on advanced multimeters is also useful. It freezes the reading on the display, helping us in tight spots.
This feature, combined with continuity testing, makes finding faults in complex systems easier. In cars, the multimeter’s continuity test is crucial. It helps check wiring, sensors, and switches, ensuring the electrical system works right.
In electronics repair, continuity testing is key. It helps trace PCB connections and spot cold solder joints. These are hard to see with the naked eye.
Common Concerns
What is a multimeter and why is testing continuity important?
A multimeter is a tool that measures voltage, current, and resistance. It’s used to check if materials or connections conduct electricity. This is key for finding faults, ensuring safety, and improving circuit efficiency.
What are the essential tools and materials needed for continuity testing?
You’ll need a multimeter, test probes, and a screwdriver. Also, the device you’re testing, like wires or switches. Make sure your multimeter has a working battery.
How do I set up a multimeter for continuity testing?
Connect the black probe to the COM port and the red probe to the V/Ω port. Set it to continuity mode or resistance mode. Turn it on and calibrate by touching the probes together for a zero-ohm reading.
What are the steps to check continuity with a multimeter?
First, disconnect the device from power. Place the probes on the component ends. Wait for the reading to settle. A 0 reading means good continuity, while high readings show a problem.
How do I interpret the multimeter readings for continuity testing?
A 0 ohm reading is perfect. Below 1 ohm is good, but dirty terminals might cause issues. Between 1-10 ohms is okay for some devices. Above 10 ohms means a problem. A 1 on the left or megaohms (MΩ) shows a high resistance or open circuit.
What safety considerations should I keep in mind when testing continuity?
Always disconnect the device from power first. Keep the device isolated and be careful with built-in appliances. If unsure, get professional help.
What are some common issues that can arise during continuity testing?
Dirty probes or weak batteries can cause false readings. Clean the probes and replace the batteries. Also, ensure capacitors are fully discharged for accurate results.
How can I test continuity in household appliances?
Unplug the appliance before testing. For lamps, check the plug and socket with the switch on and off. Test extension cords and appliance cords for continuity.
What are some advanced continuity testing techniques?
Advanced techniques include testing complex circuits and using the multimeter’s data hold function. You can also combine continuity tests with voltage and resistance measurements. Some multimeters offer low-resistance tests for electronics work.

