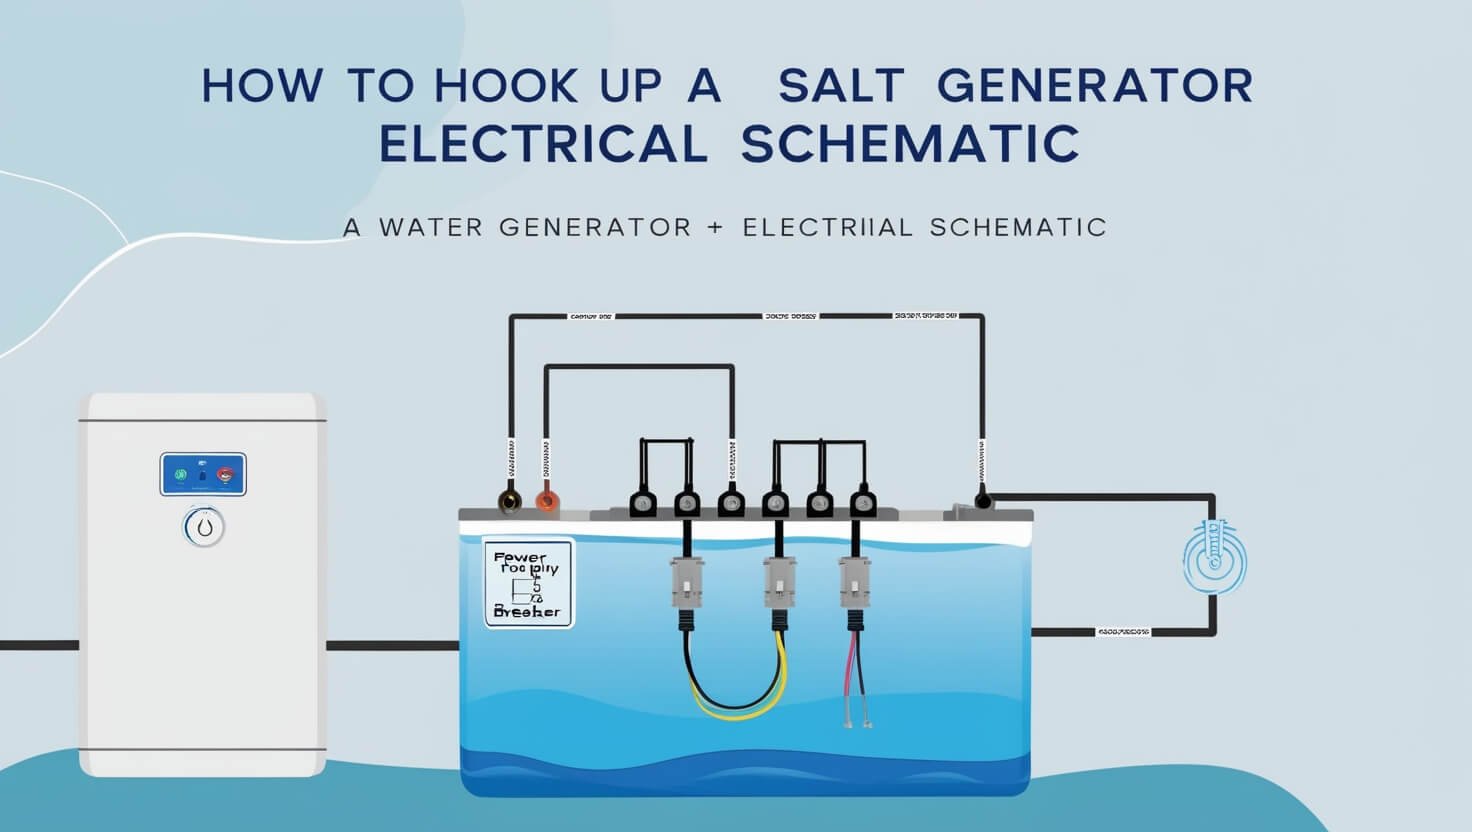
Ever wondered how to connect a salt generator’s electrical setup? Wiring your pool’s salt system right is key for its efficiency and safety. This guide will show you how to make a smooth electrical connection for your salt generator. We’ll cover everything from voltage needs to grounding and bonding.
Ready to learn the basics of salt system wiring? Let’s dive into how to manage your pool’s chlorination process.
Essential Tools and Materials for Salt Generator Installation
Installing a salt chlorine generator needs the right tools and materials. First, let’s look at what you’ll need to do the job well and safely.
Basic Electrical Tools Required
- Digital multimeter for voltage testing
- Wire cutters and strippers
- Screwdrivers (flathead and Phillips head)
- Voltage tester
Safety Equipment Checklist
- Protective gloves
- Safety glasses
- Proper footwear
Required PVC Components
For the salt cell installation guide, you’ll need these PVC components:
- PVC pipes
- PVC elbows
- PVC unions
- PVC primer and glue
Remember, a digital multimeter is key for checking voltage during setup. Make sure you have all tools and materials ready before starting. This will help avoid any delays or problems.
Preliminary Safety Measures and Power Management
Before we start with the saltwater pool wiring or the salt generator electrical schematic, safety comes first. First, turn off power to the timer box at the circuit breaker. This makes sure we’re working in a safe, de-energized area, reducing electrical hazards.
Then, let’s look at the wiring in the timer box. We need to know the input and output wires and their terminals. Also, we must check if the grounding connections are correct. This is key for the salt chlorine generator’s safe operation.
When working with electrical parts, safety is always our top priority. Always follow the manufacturer’s instructions for your salt chlorine generator model. By taking these steps, we can ensure a safe and successful installation of the saltwater pool wiring and the salt generator electrical schematic.
Control Unit Mounting Guidelines
Mounting the control unit of a salt chlorine generator is a key step. This unit controls the system’s power and checks salt levels. We’ve outlined important tips for choosing the right spot and mounting it securely.
Location Selection Criteria
The control unit should be at least 10 feet from the pool’s edge. It’s best near the pool’s timer. This keeps it safe and easy to reach. Also, it should be at eye level, away from weather and sunlight.
Proper Mounting Techniques
Use a level to align the mounting bracket. Start with temporary screws, then fix it permanently after wiring. This method helps you adjust and ensures a solid installation.
Distance Requirements from Pool
The control unit’s 6-foot DC power cord needs to reach the salt cell’s pipe section. This is key for a good connection between the control unit and the salt cell.
Following these mounting guidelines, you’ll have a safe and effective salt chlorine generator system. The right placement and secure mounting are vital for the system’s long-term performance.
How To Hook Up A Salt Generator Electrical Schematic
Adding a salt generator to your pool system needs careful electrical setup. First, check the voltage at your timer. Is it 120VAC or 240VAC? Knowing this is key for setting up the salt generator’s control unit right.
To start, take off the control unit’s cover to see the wiring inside. If your system uses 240VAC, link the red wire to J12 and the orange wire to J8. For 120VAC, connect the red wire to J11 and the orange wire to J14. Make sure all connections are tight before putting the unit back together.
Correct electrical wiring is vital for the generator wiring diagram and saltwater chlorinator connections to work well and safely. By following these steps carefully, you can make sure your salt generator fits well into your pool’s electrical system. This will give you reliable chlorination for a clean and inviting swimming area.
Voltage Configuration and Power Settings
Setting up your pool’s salt chlorine generator is key. You need to get the voltage right for the best performance and safety. First, check the voltage at your timer box. It’s either 120VAC or 240VAC. Use a digital multimeter to find out by measuring the voltage across terminals 2 and 4.
120V vs. 240V Setup
If it’s 120VAC, you’ll need to change the control unit’s wiring. This makes sure it works well and safely. But, if it’s 240VAC, you don’t need to touch the wiring inside. The control unit is built for this higher voltage.
Internal Wiring Adjustments
For 120VAC, you’ll have to open the control unit. Then, you’ll need to change the wiring to match the voltage. Always follow the manufacturer’s instructions carefully. Wrong wiring can be risky and harm the equipment.
Power Testing Procedures
Before you connect the DC power line to the salt cell, test the control unit. Turn on the power and check if the lights and buttons work right. This makes sure everything is ready for the final setup and use.
Setting the voltage right and testing the power, you ensure your pool’s salt chlorine generator works safely and efficiently. These steps are vital to avoid electrical problems and keep your pool water clean and clear.
Timer Box Connection Process
When it comes to saltwater pool wiring instructions and how to hook up a salt generator electrical schematic, the timer box connection is key. This step is vital for your saltwater pool system to work right. Let’s go over how to wire the power cord from the Control Unit to the timer box.
- Connect the red wire from the Control Unit to terminal 2 on the timer box.
- Connect the black wire from the Control Unit to terminal 4 on the timer box.
- Connect the green wire from the Control Unit to the ground screw on the timer box.
Ensure all connections are tight and secure. After wiring, put the timer box cover back on. Always follow local electrical codes and the maker’s instructions for your salt chlorine generator model.
| Wire Color | Timer Box Terminal |
|---|---|
| Red | Terminal 2 |
| Black | Terminal 4 |
| Green | Ground Screw |
Following these steps, you’ll connect your saltwater pool’s salt generator to the timer box right. This ensures efficient and safe operation. Remember, paying close attention and following electrical safety rules are crucial when working with pool equipment.
Ground Wire Installation and Bonding Requirements
Grounding and bonding are key for your salt generator’s safety and efficiency. We’ll install a minimum 8 AWG copper wire. This wire connects the Control Unit’s bonding lug to your pool’s bonding system.
Copper Wire Specifications
Choose a solid or stranded copper wire, at least 8 AWG. This wire is extra, along with the green grounding wire in your circuit. The 8 AWG wire helps keep you safe by offering an extra path for stray electrical current.
Bonding Points Connection
- Find the bonding lug on the Control Unit, marked with “ground” or “BND”.
- Connect one end of the 8 AWG copper wire to this lug with a crimp ring terminal.
- Then, run the other end to your pool’s bonding system, like the pump and lights.
- Securely attach the wire to the system with a crimp ring terminal or wire nut.
Good bonding means stray electrical current can safely return to the source. This lowers the risk of shocks and keeps your salt chlorine generator running safely.
Salt Cell Placement in Return Line
When you install a saltwater chlorinator, it’s key to put the salt cell in the right spot in your pool’s return line. The salt cell should go as the last thing in the return line, after the pump, filter, and heater (if there is one). This spot makes sure the water goes through the cell before it gets into the pool. This helps make more chlorine and spreads it out better.
To install the salt cell right, follow these steps:
- Mount the salt cell horizontally, with the inlet and outlet ports facing downward. This way, water flows well through the cell.
- Make sure water goes into the “INLET” port and out through the “OUTLET” port. This flow is key for the salt cell to work right.
- Put the salt cell at least 10 feet away from the pool’s edge, but still within reach of the Control Unit’s DC power cord. This spot is safe and easy to get to.
Following these salt cell installation and saltwater chlorinator connections tips, your saltwater chlorination system will work well and safely. This will give you a clean and balanced pool to enjoy.
PVC Pipe Modifications for Cell Installation
Setting up a salt generator system in your pool needs some careful pipe work. We’ll cut and measure PVC pipe for the salt cell. We’ll also put together unions and fittings. This ensures the salt cell fits well in your pool’s return line.
Cutting and Measurement Guidelines
Start by cutting two 10-inch PVC pipe sections for the salt cell. Make sure to deburr and clean the edges. Then, measure the return line space for the cell. For bigger units, you’ll need about 6 1/4 inches.
Union and Fitting Assembly
To connect the cell, we use a two-step gluing method. First, prime the pipe and fittings. Then, apply PVC glue. This makes a strong bond. Use 90-degree elbows on the return pipes and connect the cell, ensuring it’s aligned before gluing.
Following these steps, you can add the salt cell to your pool’s plumbing. This will help your salt generator wiring diagram and pool salt system electrical hookup work well. Your pool’s water will stay clean and balanced.
Control Unit Programming Setup
To make sure your salt chlorine generator works well, you need to program the control unit right after you install it. This guide will help you set up the main features and functions of your system.
First, check the instructions for your salt chlorine generator model. These will tell you how to use the control panel and set up different options. Start by choosing how much chlorine you want to make to keep your pool clean.
- Set the operating hours to fit your pool’s use. This will help make chlorine and save energy.
- Look at any extra features or settings for your salt chlorine generator, like cleaning cycles or water temperature checks.
- Get to know the control panel and what it shows. This will help you see how the system is doing and make changes if needed.
Following the manufacturer’s instructions and understanding your salt chlorine generator’s control unit, you’ll keep your system running right. This will help keep your pool clean, safe, and balanced all season.
Salt Level Requirements and System Testing
To keep your salt chlorine generator working right, you need the right salt level in your pool. We recommend keeping it around 3500 ppm (parts per million) for best results. Use high-purity (99.8% or higher) non-iodized salt to hit this target.
Before you start testing, prime the pump and turn on the power. This gets the salt cell ready and starts chlorine production. Wait at least 24 hours before checking the water chemistry. Watch the system’s diagnostics and make sure it’s making chlorine.
Following these steps and testing the system well, you’ll know your salt chlorine generator is working well. It will keep your pool clean and safe. Always remember to keep up with maintenance and check the water balance to keep your pool healthy.

