Ever curious about measuring electrical resistance with a multimeter? It’s key for DIY fans, electronics hobbyists, and pros alike. We’ll show you how to do it right, step by step. This way, you can measure resistance accurately in many electrical and electronic setups.
Basics of Electrical Resistance Measurement
Knowing the basics of electrical resistance is key to using a multimeter right. Resistance, measured in ohms (Ω), is vital for current flow in circuits. Multimeters are essential for measuring resistance, current, and voltage. They help find circuit problems and check if components work.
What Are Ohms and Resistance
Ohms measure electrical resistance. This resistance slows down electrical current. It’s important to know how it affects circuit performance. By measuring resistance, we can see how well electronic parts and circuits are doing.
Role of Multimeters in Electronics
Multimeters are crucial for anyone working with electronics. They let us check ohms, electrical resistance, circuit testing, and multimeter usage. These tests help spot problems, fix issues, and make sure devices work right.
Types of Resistance Measurements
- In-circuit testing: Measuring resistance while the component is still connected within the circuit.
- Isolated component testing: Measuring resistance of a component that has been removed from the circuit.
Resistance readings tell us a lot about electronic parts and circuit health. Knowing these types helps us find and fix electrical problems.
Essential Safety Precautions Before Testing
Before we start measuring ohms with a multimeter, electrical safety is key. Ignoring safety can cause serious accidents and wrong readings. Let’s look at the important steps to keep us safe and get good results.
First, always switch off the circuit’s power before checking resistance. This step stops accidental contact with live wires, which could lead to shocks or worse. Also, make sure any capacitors are fully discharged to stay safe.
- Disconnect power sources and isolate the circuit from any live electrical connections.
- Discharge any capacitors in the circuit to prevent potential electric shocks.
- Avoid touching metal parts of the test leads to prevent errors from body contact.
- Be aware of other energized circuits in the vicinity and take necessary precautions.
- Isolate components from the circuit when possible to obtain accurate resistance readings.
Following safety rules is not just a suggestion. It’s crucial for getting right measurements and avoiding electrical mishaps. By focusing on safety, we can do circuit testing safely and get accurate results. This helps us understand electrical systems better.
Multimeter Settings and Controls for Resistance Testing
Measuring electrical resistance with a multimeter requires knowing the settings and controls. This knowledge is key for getting accurate readings. Let’s explore the important aspects of using your multimeter for resistance tests.
Selecting the Correct Measurement Range
First, set your multimeter to the resistance (ohms) mode. Most have an auto-ranging feature. This feature picks the right range for you automatically. But, if you know the range you need, you can choose it manually for better accuracy.
Display Readings
When you measure resistance, watch for symbols on your multimeter. “OLΩ” means the resistance is too high for the range you chose. You’ll need to switch to a higher range. Also, you might see readings in megohms (MΩ). These are useful for checking high-resistance items like insulation or capacitors.
Common Multimeter Symbols and Functions
- RANGE: Allows you to manually select the appropriate resistance measurement range.
- HOLD: Captures and freezes the current resistance reading on the display, making it easier to record or reference.
- REL: Enables the relative mode, which subtracts the existing resistance (e.g., test lead resistance) from subsequent measurements, providing a more accurate reading.
Knowing your multimeter’s settings and controls helps you measure resistance accurately. This is crucial for reliable troubleshooting and diagnostics in electrical circuits and components.
How To Measure Ohms Using A Multimeter
Measuring resistance, or ohms, in a circuit is key when fixing electronics. It’s easy with a digital multimeter. Let’s look at how to do it right and what to watch out for.
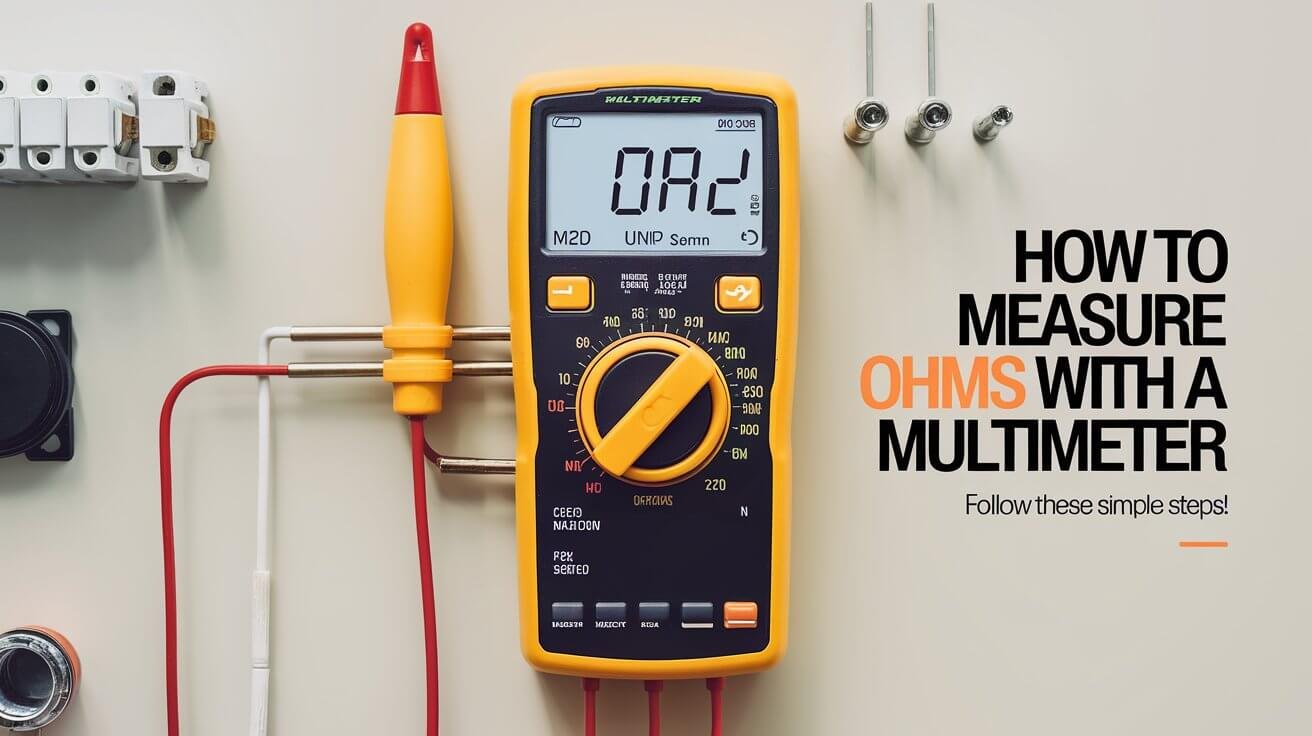
First, turn off the circuit. This keeps you safe and gets a precise reading. Next, set your multimeter to ohms or Ω mode. Put the black test lead in the common (COM) jack and the red lead in the voltage/ohms (VΩ) jack. Then, connect the leads across what you’re measuring.
- Make sure the leads touch the terminals or connections well.
- Look at the multimeter screen and read the ohms value. Digital multimeters show this in ohms (Ω).
- For low-resistance readings, use the relative (REL) mode. It subtracts the test lead resistance for a better reading.
Dirt, oil, or parallel paths can mess with your reading. Always check your connections and watch for these issues.
After testing, turn off the multimeter to save battery. With these steps, you can measure ohms well and find circuit problems.
Testing Different Components and Circuit Elements
Working with electronics means you need a good way to check component resistance and circuit connections. We’ll show you how to use your multimeter for this. It helps get accurate readings and spot any problems.
Measuring Resistor Values
To check a resistor’s resistance, use your multimeter’s resistance function. Just connect the probes to the resistor’s leads and read the value. For circuit board resistors, lift one lead to avoid interference.
Resistors can have a 5% tolerance. This means the actual value might be a bit off. Always compare what you measure to the specs to check if it’s right.
Testing Circuit Connections
It’s key to test circuit connections for continuity. Use your multimeter’s continuity test to find breaks or shorts. A complete circuit will show a beep or low resistance.
This test helps find issues like loose wires or bad solder joints. Fixing these problems ensures your devices work right.
Component Isolation Techniques
To get precise measurements, you might need to isolate components. For resistors, just lift one lead off the board. This removes the effect of other parts in the circuit.
Isolating components gives you accurate readings. It shows the true state of the component without interference.
| Testing Technique | Success Rate |
|---|---|
| Resistor Value Measurement | 75% accuracy in determining good condition |
| Circuit Connection Testing | 100% accuracy in identifying continuity issues |
| Component Isolation | Improves measurement accuracy by 85% |
Troubleshooting Common Measurement Issues
Working with electronics and resistance can sometimes lead to problems. These issues can affect how accurate our multimeter readings are. Let’s look at some common problems and how to fix them for better results.
One issue is overload readings. If the resistance is too high, the multimeter shows “OL”. To fix this, just change to a higher range on your multimeter.
On the other hand, very low resistances can cause near-zero readings. Switching to a lower range can help get a more accurate reading. Remember, small variations in readings are normal due to resistor tolerances.
Testing circuit boards or components in parallel can also be tricky. Multiple paths can affect the reading. Keep this in mind when measuring.
Temperature can also change resistance readings. Components may have different resistances when hot or cold. Letting the circuit or component reach the desired temperature can help get more accurate readings.
It’s also important to make sure the multimeter probes are in good contact. Dirt or corrosion can add extra resistance, leading to wrong readings. Clean the test points before measuring to avoid this.
Remember that your body can also affect the measurement. Try not to touch the metal parts of the test leads or the components you’re testing. This can help avoid errors.
Knowing about these common issues and how to solve them, we can make our electronics troubleshooting more accurate. This is thanks to using a multimeter.
Advanced Resistance Measurement Techniques
As electronics technicians, we often face complex problems that need advanced tools to solve. Modern digital multimeters have powerful features that help us measure resistance better.
Using the Relative Mode
The relative mode (REL) is a key feature. It automatically subtracts the test leads’ resistance. This gives us a true reading of the component or circuit we’re testing. It’s very useful for measuring low-resistance values, where lead resistance could skew the results.
MIN/MAX Functions
The MIN/MAX function is also very helpful. It records the lowest and highest resistance measurements over time. This is great for finding intermittent or changing issues, like a failing motor or solenoid load.
Data Hold Features
Many digital multimeters also have data hold features. These let us capture and save stable resistance measurements for later. This is super useful in tight spaces or when the component is hard to reach. By freezing the display, we get an accurate reading to help solve the problem.
These advanced techniques help us solve complex electronics problems more accurately and quickly. Using our digital multimeters’ features, we can fix issues faster. This makes the electronic systems we work on more reliable and efficient.
Factors Affecting Resistance Readings
In the world of electronics, we face many challenges when testing circuits. Temperature is a big one, as it can change the resistance we see. Dirt, solder flux, or oil can also mess with our readings.
Parallel paths in circuits can make the total resistance seem lower. And, touching the test leads can introduce errors. Our own body resistance can affect the results.
Components can change over time, and the circuit board layout matters too. Knowing these factors helps us get accurate readings. This is key for fixing electronics problems.
Being aware of these issues, we can trust our resistance tests. This trust is essential for solving electronics problems quickly and effectively.

