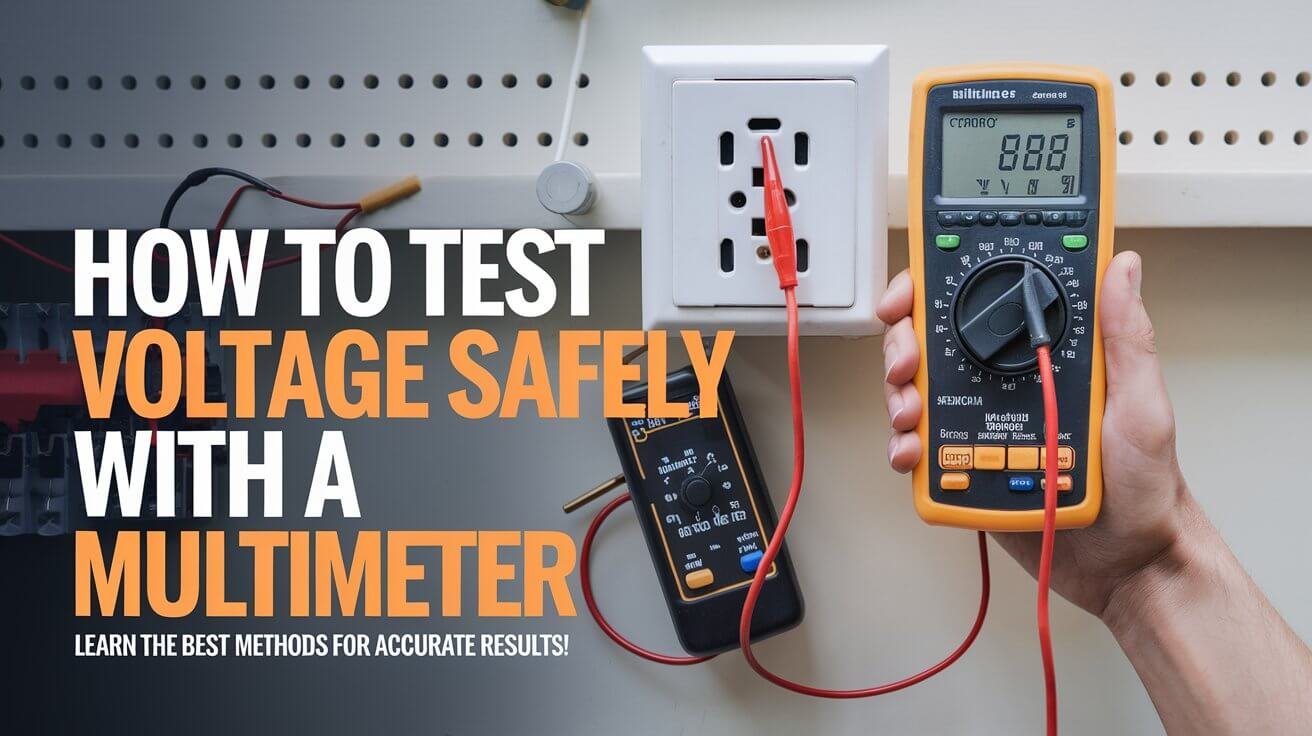
Are you unsure about the proper way to measure voltage with a multimeter? Knowing how to accurately test for voltage is crucial. It’s important for DIYers, electricians, and homeowners. In this guide, we’ll show you how to safely and effectively test voltage in different electrical circuits and applications.
Essential Safety Precautions Before Voltage Testing
Before you start voltage testing with a multimeter, safety comes first. Make sure the area is dry and check the multimeter for damage. Wear rubber gloves and shoes with rubber soles for extra safety.
To check if your multimeter works, set it to ohm mode and touch the red and black leads together. If it shows 0.5 ohms or less, it’s good to go. Always turn off power to the circuit you’re testing.
Proper Personal Protection Equipment
When working with live circuits, wear the right gear. This includes rubber gloves and insulated mats to avoid electric shock. Never touch the probe tips together while testing, as it can cause harm.
Workspace Safety Requirements
Keep your work area dry and safe from hazards like flammable dust. It’s safer to work with a partner near live equipment. This way, you can help each other if needed.
Pre-Testing Equipment Inspection
Check your multimeter and test leads for damage before testing. Make sure the insulation is good to avoid shock. For AC mains testing, use a Category II or higher multimeter. But for safety, it’s best to call a professional electrician.
Components And Features Of A Digital Multimeter
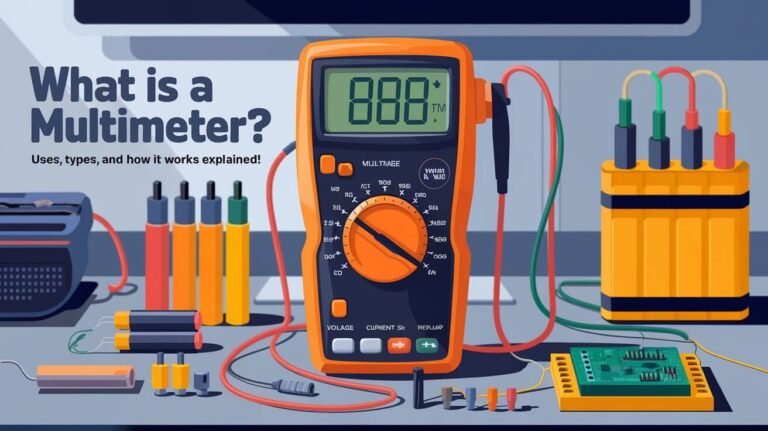
A digital multimeter is key for testing voltage. It has several important parts that help us measure electrical readings accurately. Let’s look at the main parts and features of a digital multimeter.
The main parts include an On/Off Switch, a Display (digital or analog), a Selector Knob or Button, Jacks or Ports (like Common Port, V Omega m-A, 10-A, and 300mA), and Probes (leads). The display shows the measurements. The selector knob or button lets us pick the unit of measure, like voltage, current, or resistance.
The ports on a digital multimeter are where we connect the probes. The black probe goes into the common port, and the red probe into the right port for the measurement. This setup helps get accurate and reliable readings.
Digital multimeters have a great feature called auto-ranging. This means they can pick the right measurement range automatically. This makes getting readings quick and easy. They also measure specific electrical properties, making them great for voltage testing and more.
Knowing the key parts and features of a digital multimeter helps us use it to its fullest. We can get a lot of insight into voltage readings and electrical system troubleshooting.
How To Test For Voltage Using A Multimeter
Using a multimeter is key for anyone working with electrical systems. It’s important for DIY fans and professional electricians alike. We’ll show you how to test for multimeter voltage testing step by step.
Setting Up The Multimeter
First, set the multimeter to the right mode for voltage testing. Most modern multimeters are autorange. They automatically pick the right range when you start testing. But, if you have a manual range multimeter, choose the voltage range based on what you expect to find.
Connecting Test Leads
Then, plug the black test lead into the COM (common) port. Put the red lead into the “V” or “mV” jack for voltage. Connect the black multimeter probes to the negative or neutral terminal. Put the red probe on the positive or hot terminal.
Taking Accurate Measurements
Now, set up your multimeter and take a voltage reading. Make sure the probes are firmly on the terminals or wires. Look at the reading on the multimeter. Choose the correct maximum voltage setting for the best results.
After testing, take out the probes in reverse order (red first, then black). This helps avoid short circuits.
AC Voltage Testing Procedures
Measuring AC (Alternating Current) voltage is crucial. A digital multimeter is key for this task. Here are the steps to accurately test AC voltage:
- Set the multimeter to the AC voltage mode, starting at the highest measurement range.
- Make sure the multimeter is set to a voltage range higher than the expected voltage. For example, use 120 volts for small appliances or more for three-prong ones.
- Connect the black probe to the neutral slot (the wider prong on a polarized plug) and the red probe to the hot slot.
- Take the reading and compare it to the expected AC voltage for the system or appliance.
AC voltage measurements should be close to the nominal voltage. For a 120V system, the good range is 114-126V. The acceptable range is 110-127V. Always check the system’s voltage needs when testing.
| AC Power System | Satisfactory Voltage Range | Acceptable Voltage Range |
|---|---|---|
| 120V, 1Φ | 114 – 126V | 110 – 127V |
| 120/240V, 1Φ | 114/228 – 126/252V | 110/220 – 127/254V |
| 120/208V, 3Φ | 114/197 – 126/220V | 110/191 – 127/220V |
| 120/240V, 3Φ | 114/228 – 126/252V | 110/220 – 127/254V |
| 277/480V, 3Φ | 263/456 – 291/504V | 254/440 – 293/508V |
Test the AC voltage of electrical outlets and appliances through these steps. This confirms they match required measurements.
DC Voltage Measurement Techniques
Measuring DC voltage needs care and precision. It’s different from AC circuits. Let’s explore how to measure DC voltage with a multimeter.
Battery Testing Methods
Checking battery charge is a common task. First, disconnect the battery from any devices. Then, set your multimeter to DC voltage mode. Choose a range of 30 volts or less for most batteries.
Touch the black probe to the negative terminal and the red probe to the positive. If it shows a negative value, swap the probes for a positive reading.
For car batteries, test them with the headlights on for two minutes, then off. This gives a better voltage reading.
Power Supply Voltage Check
Testing a power supply’s voltage is another common task. Set your multimeter to DC voltage mode and pick the right range. Touch the black probe to the negative or ground terminal and the red probe to the positive.
This will show you the DC voltage being supplied.
Circuit Board Testing
When fixing circuit board issues, checking DC voltages is key. Use alligator clip probes for better access. Be careful not to short any components.
Start at different points in the circuit, taking voltage readings. This helps find any problems or voltage changes.
Always prioritize safety when working with electrical circuits. Wear the right protective gear and follow all safety rules to avoid risks.
Common Voltage Testing Mistakes To Avoid
When using a multimeter for voltage testing, it’s key to avoid common mistakes. This ensures your measurements are accurate and safe. Let’s look at some frequent errors and how to avoid them.
- Inserting test leads into incorrect input jacks: Make sure the red lead goes into the “V” input jack, not “A.” Putting them in the wrong spot can cause dangerous sparks and harm your multimeter.
- Failing to set the correct unit or range: Always start with a high range and then adjust for more precise readings. Not setting the right unit or range can give you wrong readings or damage your device.
- Disregarding safety precautions: Always wear the right protective gear and work in a safe area when dealing with live electrical circuits. Skipping these steps can put you at risk of serious harm.
- Overlooking pre-testing equipment inspection: Before you start, check your multimeter for any damage or loose connections. Not doing this can lead to wrong readings or even break your equipment.
Know these multimeter errors and voltage testing mistakes to get precise electrical readings. This keeps you safe during testing.
| Mistake | Consequence | Prevention |
|---|---|---|
| Inserting test leads into incorrect input jacks | Dangerous arc flashes, potential damage to the multimeter | Ensure the red lead is in the “V” input jack, not “A” |
| Failing to set the correct unit or range | Inaccurate readings, potential damage to the device | Start with a high range and adjust down for precise measurements |
| Disregarding safety precautions | Exposure to serious risks, such as electric shocks | Use proper PPE and maintain a safe work environment |
| Overlooking pre-testing equipment inspection | Measurement errors, equipment failure | Visually inspect the multimeter for damage and proper functioning |
Troubleshooting Voltage Problems
Fixing voltage problems is key for electricians and technicians. We need to watch for changes in AC voltage in power systems. If the voltage is not what it should be, it’s often lower than normal.
Identifying Voltage Fluctuations
To find the lowest and highest voltage, use the MIN/MAX button on your digital multimeter. This shows the voltage range, helping you understand the problem. By looking at these changes, you can find and fix the issue.
Diagnosing Circuit Issues
The relative (REL) button on your multimeter is very helpful for circuit problems. It lets you set a reference value. This makes it easier to see if the voltage is off. By comparing readings, you can find and fix the problem parts.
Voltage Drop Analysis
Doing a voltage drop analysis is important. Measure voltage at different points and compare it to what it should be. This helps you find where the voltage is lost. Then, you can fix the problem.
| Voltage Measurement | Acceptable Range | Potential Issues |
|---|---|---|
| AC Volts (VAC) | 110-120V | Fluctuations, low voltage, high voltage |
| DC Volts (VDC) | 12-24V | Insufficient voltage, battery problems |
| Resistance (Ω) | 20-60 Ω | Short circuit ( 60 Ω) |
Using these voltage troubleshooting and circuit testing methods helps solve many voltage problems. A good understanding of electrical problem diagnosis is also crucial.
Maintenance And Care Of Your Multimeter
Keeping your multimeter in good shape is key to its accuracy and reliability. As a vital tool for electrical tests, it’s important to maintain it well. Regular care and attention are crucial.
Check the probes and leads often for wear or damage. If the “ohming-out” test shows high resistance, it’s time for new probes. Keeping it clean, dry, and in a case when not used will also help it last longer.
For digital multimeters, replace batteries as needed for accurate readings. Many have an auto-off feature to save battery life. This is a useful feature to use.
Calibration checks are also important, more so if you use it a lot or for important measurements. Follow the manufacturer’s calibration guidelines to keep your multimeter accurate.
Properly maintaining and caring for your multimeter, it will remain a reliable and precise tool for years.
| Maintenance Task | Frequency |
|---|---|
| Inspect probes and leads | Regular intervals |
| Replace probes if resistance exceeds 0.5 ohms | As needed |
| Clean and dry the multimeter | After each use |
| Store in a protective case | When not in use |
| Replace batteries | As needed |
| Calibrate the multimeter | Periodically |
Conclusion
Mastering the use of a multimeter for voltage testing is key for anyone dealing with electrical systems. We must follow safety steps, know the multimeter parts, and use the right testing methods for AC and DC voltages. This helps us find and fix electrical problems and keep devices and circuits working right.
Practicing regularly and sticking to safety rules will make us better at using this tool. The multimeter is great for checking voltage, resistance, and current, and for finding continuity. It’s vital for keeping electrical systems safe and working well, in homes, cars, or off-grid setups.
Learning and using the skills and tips from this article, we can safely find and fix voltage issues. This makes our electrical systems more efficient and reliable. With the right skills and care, the multimeter will always be a key part of our electrical work.

